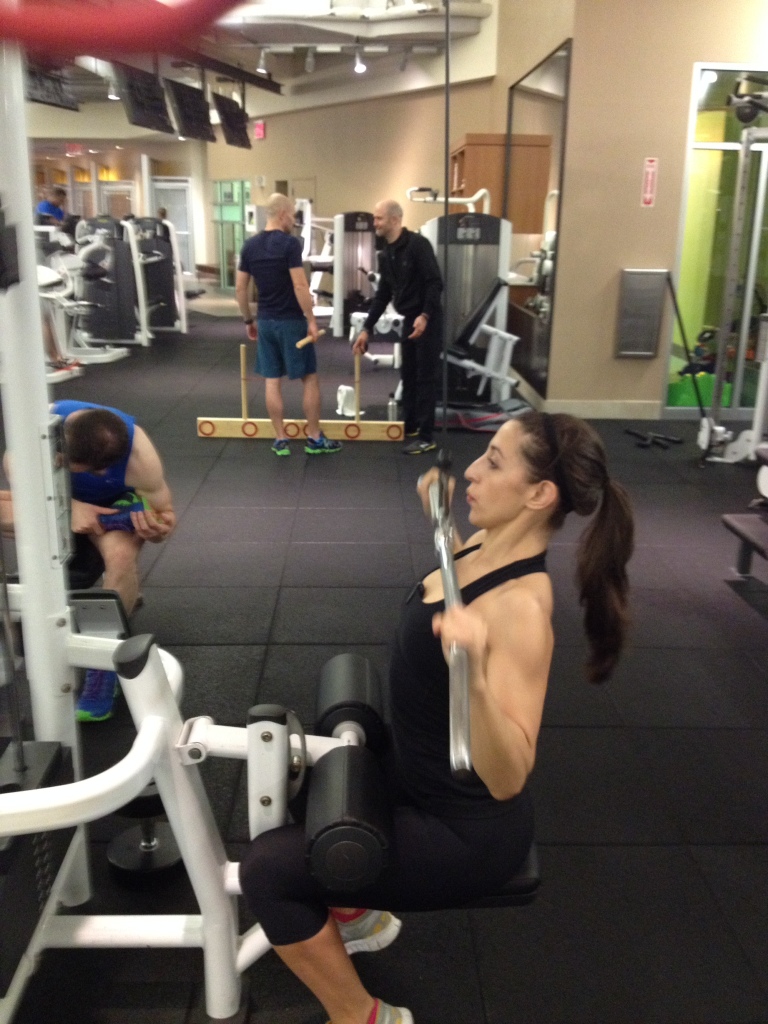
After weeks of sending annoying texts to Lydia every morning (like this picture):
I finally convinced my partner-in-crime/photographer/favorite-workout-buddy to join me for an early a.m. lift. 🙂 Our back lift consisted of:
- 3 X 21’s with barbell rows, dumbbell rows, rear delt raises (80, 27.5, 12.5)
- 3 X 10 (5/arm) bentover rows/rear delt raise (27.5, 12.5)
- 3 X 10 lat pulldown (75)
- 3 X 8 seated row (75)
- TRX stretches
- BOSU/Foam Roller stretches
We started with a version of 21’s – 3 rounds of 3 consecutive exercises for 7 reps each (for a total of 21), with 1 min rest between rounds.
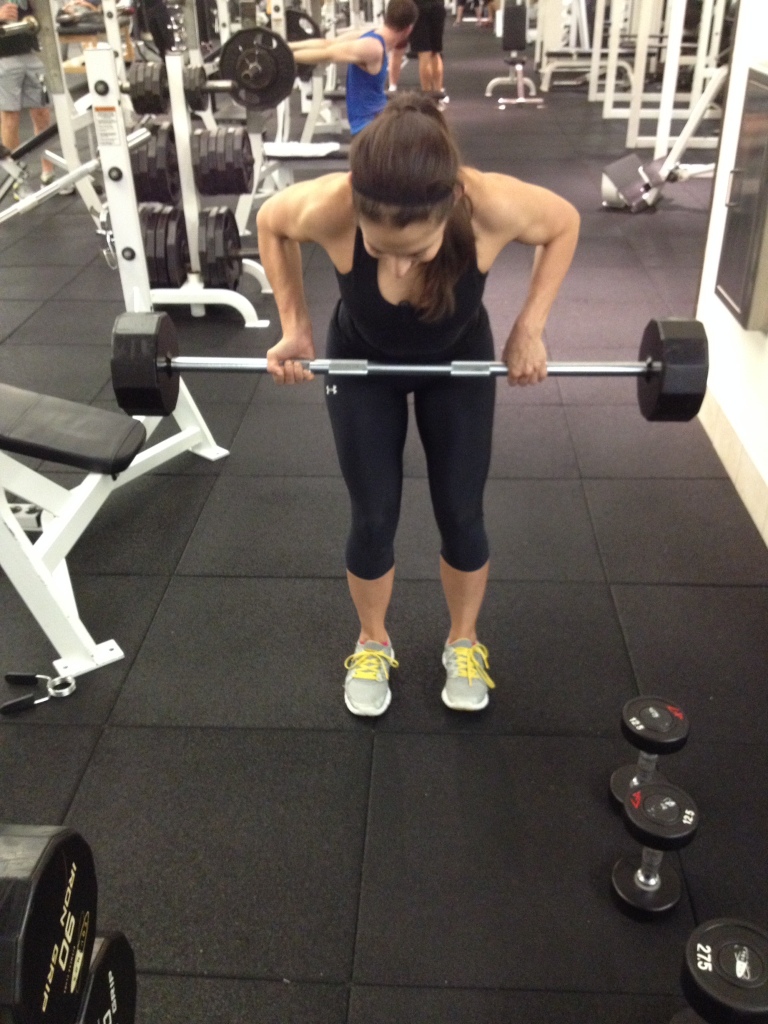
(1) Barbell rows (demonstrated with alternating grip) @ 80lbs. Start with a flat back and the bar below your knees. You can grab the bar with knuckles facing toward you or away from you, or (my personal favorite) with one toward you and one away from you. Bring the bar into the bottom of your rib cage.
FYI: The nice thing about photos is being able to see your form – upon further inspection, I would probably bring my hands out an inch or two wider next time I do these rows, but remember: every stance will just slightly alter which part of your back muscles you are targeting.
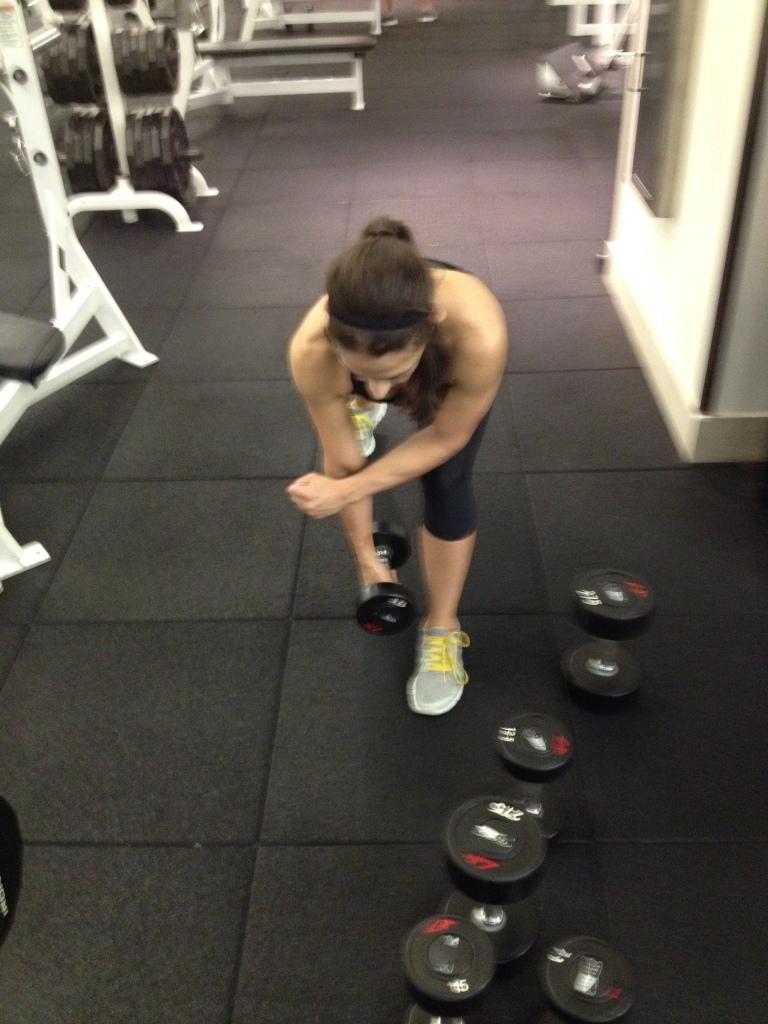
(2) Dumbbell rows @ 27.5 lbs/arm. Start with knees slightly bent and the dumbbells below each knee cap with palms facing in toward your body. Pull the weights up toward the bottom of your rib cage, with the elbows facing back. Focus on squeezing your mid-back/lat muscles by bringing your elbows slightly inward toward your spine at the top of the motion.
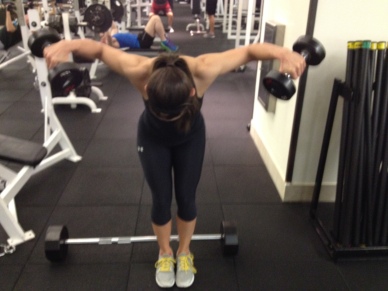
(3) Rear Delt Raises with 12.5 lbs/arm. Start with knees slightly bent and back flat. Hold the weights in front of you with palms facing in and raise the weights to the sides, with a slight bend in the elbows.
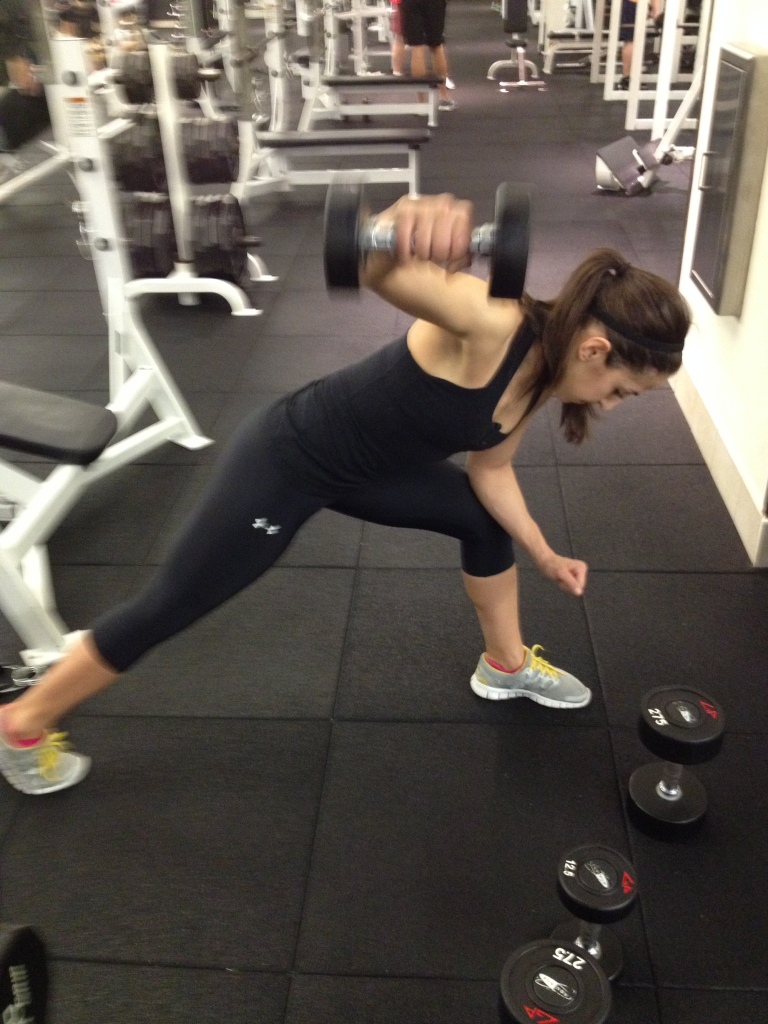
We then moved on to 3 X 10 (5/arm) of one arm bent-over rows and rear delt raises. Basically, these are the same as exercises (2) and (3) above, but with a focus on one arm at a time and starting from a bent leg position:
Rows:
Rear Delt Raise:
Next, we did 3 X 10 Lat Pulldowns @ 75 lbs. Make sure to relax your shoulders (I am terrible at this – my body refuses to relax. ever.) and to bring the bar all the way down to your chest.
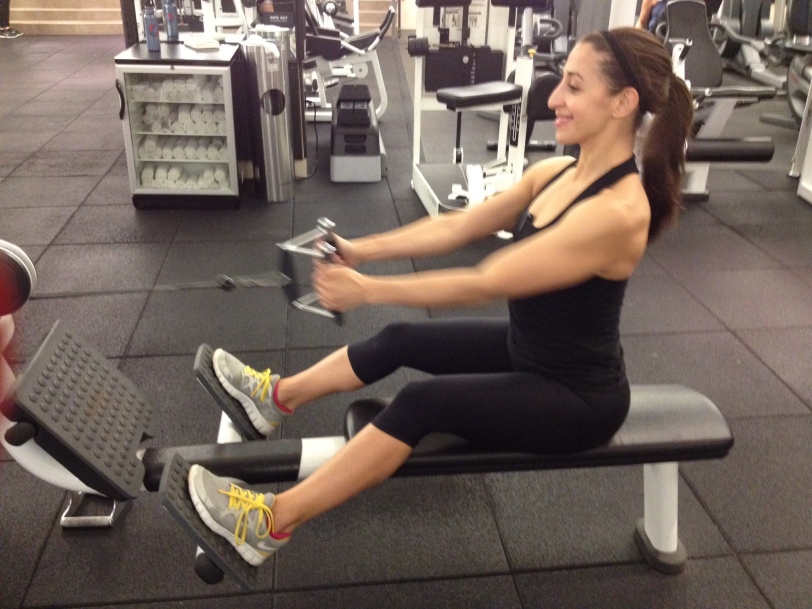
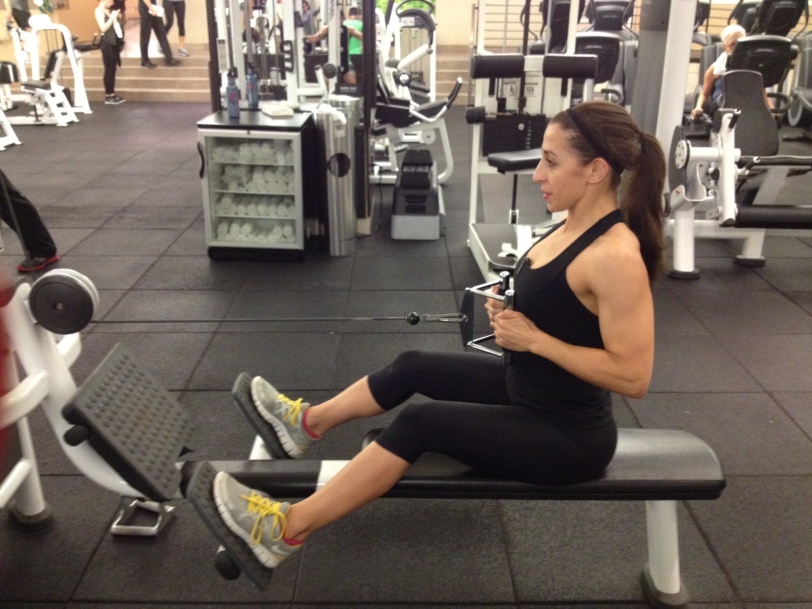
Finish out the lift with 3 X 8 @75lbs of seated row.
For most people who sit at a desk/computer all day long, your shoulders and back are likely to be tight/knotted/misaligned/weak/all-of-the-above, so stretching becomes very important. I like using the TRX to get a combo of stretching/strengthening at the same time. This morning we did 3X10 of “pushups” and “rows”:
Push-ups: Face away from where the TRX is mounted. The farther back you place your feet, the more “stretch” you will feel in your back at the bottom of the motion. Start with arms straight and lower yourself into a supported standing “push-up.”
Rows: Begin with your body facing the TRX mount. Again, the farther in you put your legs, the more “stretch” you will feel in the shoulders. Start with arms straight and pull yourself into the TRX.
After the TRX, we finished with my 2 favorite BOSU stretches:
The first is laying with your legs in butterfly position and your back on the BOSU. Interlace your fingers behind your neck for support and try to drop your elbows as far down as they will go. We held this for over a minute (of sheer awesomeness) this morning, but I could literally lay like this for 10 minutes if I didn’t have to get to work. (See the smile of stretching bliss!)
The second move is using the BOSU ball to help you get into a deeper locust pose. Lay facing down with your ribcage/upper stomach on the BOSU ball. Interlace your fingers behind you, and lift your upper body as high as you can.
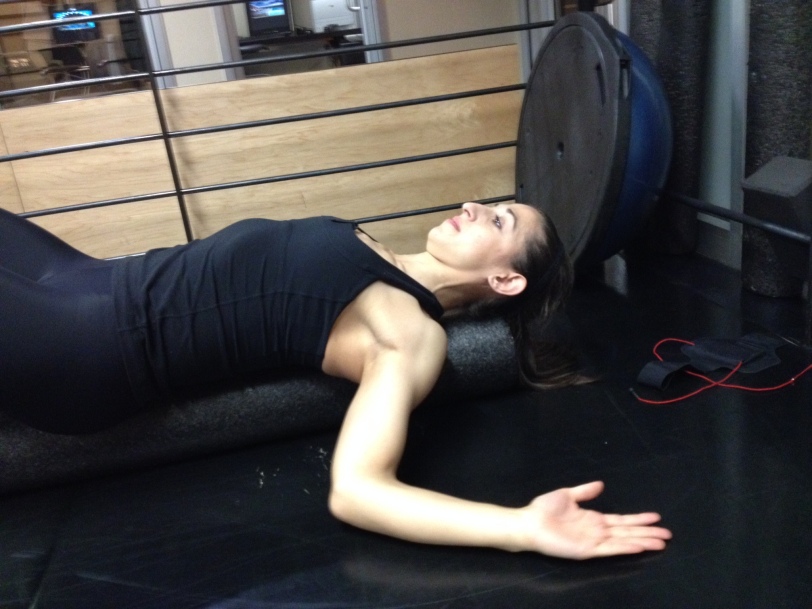
We finished with the foam roller. I tend to lay with the foam roller down my spine without moving for a while to open up my perpetually-tight shoulders (followed by rolls with foam roller perpendicular to my back), but you can also do a sequence of arm movements with the foam roller under your spine to target the shoulders even more.
Start by raising your arms and lifting and lowering the arms one or two inches (until you feel your back releasing into the foam roller) 10 times:
Make sure to keep your lower back pressed into the foam roller, and try to relax your ribcage* as you bring your arms overhead and repeat the lifting and lowering 1-2 inches motion 10 times.
*super hard.
Finish by making “snow angels” with bent elbows – i.e., by sweeping your arms in a circular motion from this top position down to where your elbows come in near the sides of your ribcage. Find the spot where you feel the most tension and hold there.
Keep holding indefinitely. 😛 Just kidding, but keep holding at different spots (for me, this is the lowest spot I can reach where my hands and elbows are still on the ground, but as your can see, even moving a few inches lower makes my ribcage poke out WAY more — which is unideal). The goal is eventually to be able to hold the stretch at any point along the spectrum with both hands and elbows on the mat.


